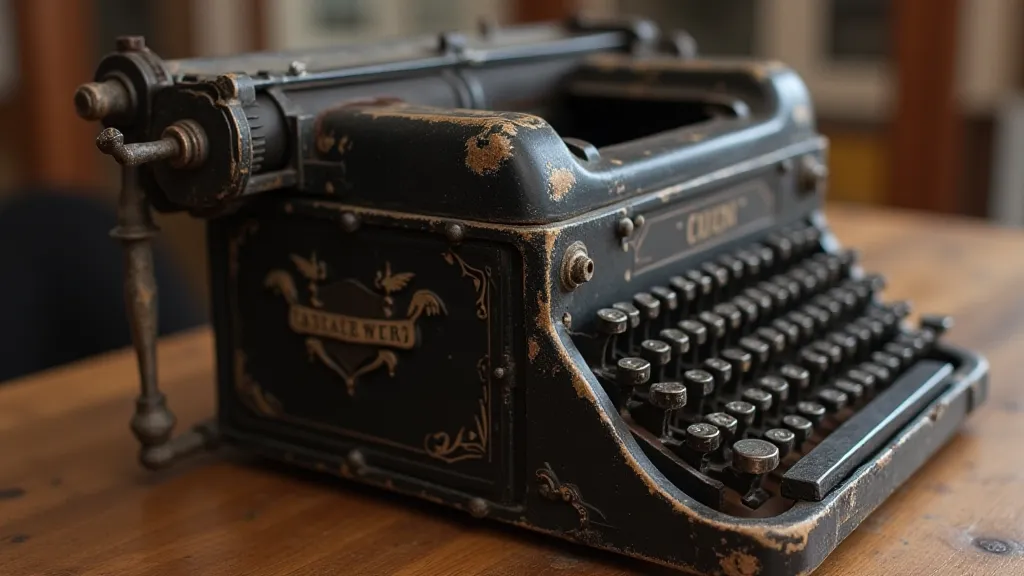
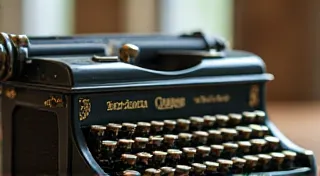
Expert Tips for Typewriter Key Replacement
Replacing typewriter keys is a common and often necessary task in typewriter restoration. Whether a key has broken, become illegible, or simply fallen off, a replacement can breathe new life into your vintage machine. This guide provides a detailed, step-by-step approach to typewriter key replacement, focusing on techniques that minimize damage and maximize success. We'll cover the tools you'll need, the process itself, and common pitfalls to avoid. This guide is geared towards restoration of various vintage typewriters, so while techniques are generally applicable, specific models may require minor adjustments. If you're looking for a wider array of replacement options, check out our guide to Finding and Replacing Vintage Typewriter Parts.
Understanding Typewriter Key Mechanisms
Before you start, it's crucial to understand how typewriter keys work. Most typewriters utilize a lever system where each key is connected to a typebar. When a key is pressed, the lever pushes the typebar, striking the paper and producing a character. Keys are held in place by various methods, including:
- Spring Clips: These are the most common, especially in mid-century machines. They’re small metal clips that hold the keycap in place.
- Tapered Shanks: Some keys have a tapered shank that fits snugly into a corresponding slot.
- Threaded Shanks: Less frequent, these utilize a threaded shank that screws into the typebar.
Having the right tools makes the job significantly easier and reduces the risk of damage. Here's what you'll need:
- Small Screwdrivers: A set of small, precision screwdrivers is essential.
- Keycap Removal Tool (Optional): Specialized tools exist to aid in key removal, particularly for machines with tricky spring clips.
- Needle-Nose Pliers: Useful for manipulating spring clips and handling small parts.
- Magnifying Glass: Allows for a closer inspection of the key mechanism.
- Clean Cloth: To wipe away any debris and protect the typewriter's finish.
- Replacement Keys: Obviously! Ensuring the replacement keys are the correct type for your machine is vital.
The Key Replacement Process
Follow these steps carefully:
- Identify the Key Type: Observe how the existing key is attached. This will guide your removal technique.
- Remove the Old Key: If using a keycap removal tool, follow the tool's instructions. Otherwise, carefully manipulate the spring clips with needle-nose pliers. For tapered shanks, gently wiggle the key free. Threaded keys require unscrewing.
- Clean the Area: Use a clean cloth to remove any dirt, dust, or old grease from the key slot and typebar.
- Install the New Key: Align the new key correctly and press it firmly into place. For spring clips, ensure they snap securely. For tapered shanks, make sure it’s fully seated. Threaded keys require careful screwing in.
- Test the Key: Type the letter or number several times to ensure the key functions correctly.
Common Pitfalls and Troubleshooting
Replacing typewriter keys can be challenging, particularly with certain models. The history of the Underwood typewriter, for instance, reveals a complex evolution that extends to the key mechanisms themselves, making restoration require extra diligence. Here are some common issues to watch out for:
- Broken Spring Clips: These are fragile and prone to breakage. Handle them with extreme care. Replacement spring clips can be difficult to find.
- Stripped Typebar Threads: Over-tightening threaded keys can strip the typebar threads, making replacement impossible. Be especially mindful of this when working on models known for delicate threading.
- Incorrect Keycap Size: Using the wrong size keycap can prevent the key from functioning properly or damage the machine. Double-check your keycap measurements before beginning the replacement.
- Difficulty Releasing Clips: Sometimes, clips are stiff or corroded. Patience and careful manipulation are key. Applying a tiny amount of lubricant can sometimes help.
- Silent Typewriter Issues: If you're working on a Smith Corona Silent, specific silent mechanisms can introduce further complications, requiring a different approach to key replacement.
Brand-Specific Considerations
While the general process remains similar, specific typewriter brands often have unique features. Understanding the nuances of each brand is crucial for successful restoration. Take the Smith Corona Silent, for example – its silent operation relies on a unique key action which can make replacement more complex.
- Remington: Many Remington models utilize robust spring clips. Be prepared to encounter these clips, and have replacement clips on hand.
- Oliver: Oliver typewriters often require extra care due to their delicate mechanisms. These machines are renowned for their precision, but that precision also means they are prone to damage if handled roughly.
- Underwood: Underwood machines can be challenging due to their complex key assembly. The Underwood’s design reflects its position as a pioneering typewriter, and its intricate construction demands a careful hand during restoration.
- Smith Corona: The Smith Corona Silent models present unique challenges related to their dampened key action.
Advanced Techniques & Common Issues
Beyond the basic steps, certain situations may require more advanced techniques. For example, when dealing with heavily corroded keys, soaking them in a mild solvent can help loosen them from their slots. When replacing keys on models with unusual key arrangements, like those found on some portable typewriters, carefully examining the original configuration is essential to ensure correct placement. If a key is visibly warped or damaged, attempting to straighten it is rarely successful and replacing it is almost always the best option.
Alignment and Typebar Adjustments
After replacing a key, it's important to check the typewriter's alignment. Improper alignment can cause the new key to strike the paper incorrectly, resulting in blurry or misaligned characters. Some typewriters may require minor typebar adjustments to ensure that all keys strike the paper at the correct angle. This is especially true for machines that have been heavily used or have undergone previous repairs. Properly aligning your typewriter after key replacement will ensure optimal performance and a professional-looking result. This aligns with a good understanding of Demystifying Typewriter Alignment: A Practical Guide.
Final Thoughts
Replacing typewriter keys is a rewarding task that can significantly improve the functionality and appearance of your vintage typewriter. It's a project that combines mechanical skill with a respect for history. By following these tips and exercising patience, you can successfully restore your machine and continue to enjoy the unique charm of mechanical typing. Remember to research your specific model, consult reliable resources, and take your time – the results will be well worth the effort!