Demystifying Typewriter Alignment: A Practical Guide
Typewriter alignment, often a source of frustration for those restoring vintage machines, doesn't have to be a mystery. While seemingly complex, understanding the underlying principles and having a methodical approach can make even significant misalignment corrections achievable. This guide aims to break down typewriter alignment, focusing on practical methods and common pitfalls.
Understanding the Basics: What is Typewriter Alignment?
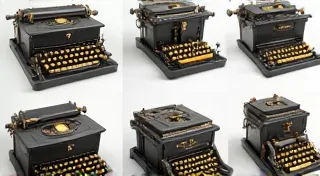
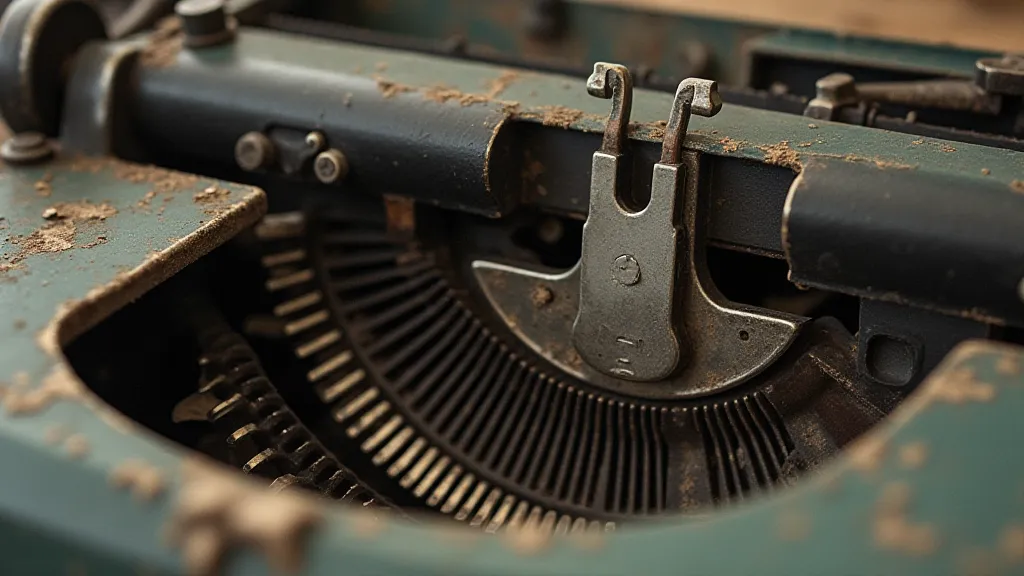
Typewriter alignment refers to the precise positioning of the typebars (those little arms with the letters on them) so they strike the paper at the correct angle and with consistent force. When alignment is off, you'll notice uneven printing – letters appearing at odd angles, inconsistent darkness, or even outright misprints. Misalignment can stem from various factors including wear and tear, improper repairs, and even the forces exerted by decades of use. It's a delicate dance of mechanical precision that contributes significantly to the character and usability of these vintage tools.
Before diving into correction, it's crucial to identify what is misaligned. There are several axes to consider:
- Lateral Alignment (Side-to-Side): The typebars are off to the left or right.
- Vertical Alignment (Up-and-Down): The typebars are angled too high or low.
- Angular Alignment (Forward-Backward): The typebars are angled too far forward or backward.
- Spacing Consistency: The distance between typebars isn’t uniform.
- Carriage Return Issues: Problems with the carriage return mechanism can indirectly affect alignment. Addressing issues with the carriage return is sometimes a necessary precursor to precise typebar adjustment.
Modern typewriters rarely suffer this, but vintage machines, especially those used heavily, often require significant adjustments. The mechanical intricacies of older models are what makes restoring them such a rewarding challenge.
Tools of the Trade
You don't need a ton of specialized tools for basic alignment. However, having these will make the process considerably easier:
- A good light source: Crucial for observing the typebar positions. A magnifying glass can be beneficial too.
- Small Screwdrivers: Typewriter screws are often tiny and easily stripped. A set of precision screwdrivers is a must.
- Typewriter Alignment Key/Template (Optional): These offer a consistent reference for aligning typebars.
- Fine-tipped pliers (Optional): For gently repositioning stubborn typebars.
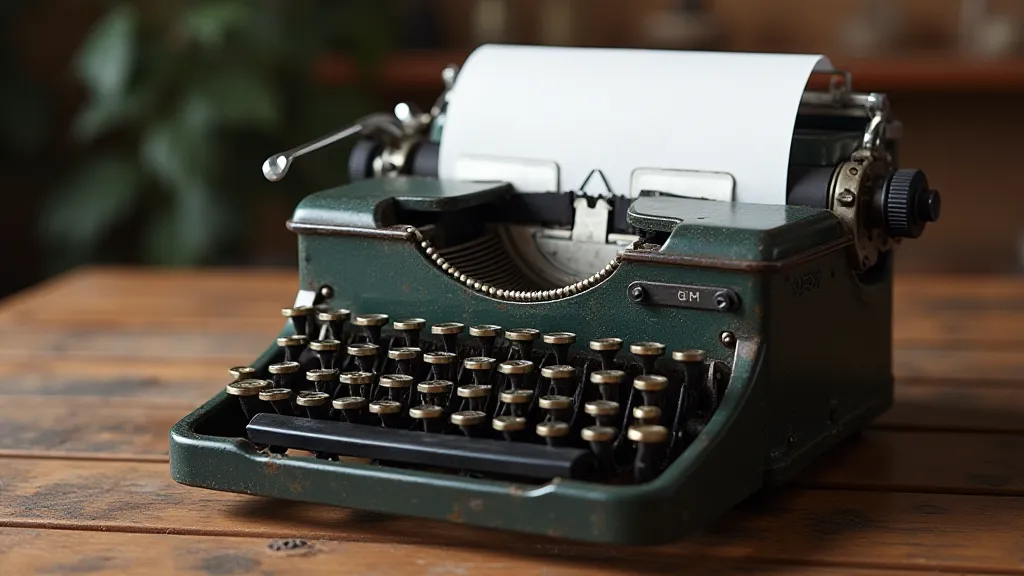
- A blank sheet of paper: Your primary testing medium.
- Service Manuals: The ultimate reference, often overlooked. These are frequently brand-specific and essential for understanding the nuances of your machine.
Step-by-Step Alignment Process
The following steps provide a general approach. Specific typewriters will have unique adjustment methods – consult your typewriter's service manual whenever possible. (Note: Service manuals can often be found online!) Understanding how a typewriter’s carriage return interacts with the type lever is key to a proper alignment.
- Initial Assessment: Type a sample text on a blank sheet of paper. Observe the printing closely. Note the patterns of misalignment. Is it consistent across all typebars, or localized to certain areas?
- Identify the Root Cause: Is it a single, easily adjustable screw, or a more complex issue involving multiple adjustments? Sometimes the problem isn’t a direct typebar misalignment, but a symptom of a larger issue within the overall mechanical system.
- Lateral Alignment Adjustments: Most typewriters have lateral adjustment screws near the type lever. Small turns of these screws shift the entire type lever cluster left or right.
- Vertical Alignment Adjustments: Vertical adjustment usually involves tiny screws located near the typebar holders. These screws, often requiring delicate manipulation, subtly change the angle of the typebars.
- Angular Alignment Adjustments: Angular alignment is trickier. It often involves a combination of adjusting the position of individual typebars or the tension of the type lever return mechanism.
- Spacing Consistency Adjustment: Spacing is frequently linked to the overall type lever return mechanism. Adjusting the tension of this mechanism can affect the spacing between typebars.
- Re-Assessment: After each adjustment, type another sample and reassess the alignment. Small adjustments are key!
Common Pitfalls to Avoid
- Over-tightening Screws: This can damage the delicate mechanisms. The metal used in vintage typewriters can be brittle, exacerbating the problem.
- Forcing Anything: If something feels stuck, investigate the cause instead of forcing it. Listen for unusual sounds that may indicate a larger issue.
- Ignoring Service Manuals: These provide invaluable brand-specific guidance. They are a treasure trove of information for anyone serious about typewriter restoration.
- Making Too Many Adjustments at Once: Isolate changes to understand their effect. This methodical approach prevents compounding errors.
- Neglecting Cleaning: Dirt and grime can hinder smooth movement and accurate alignment. A thorough cleaning is often the first step in any restoration project.
- Assuming Uniformity: Each typewriter, even within the same brand and model, can have subtle differences due to wear and manufacturing tolerances.
Brand-Specific Considerations
Different typewriter brands have unique alignment systems. Understanding these nuances is vital for success.
- Remington: Remingtons often have a distinctive lateral adjustment system. The complexity of their mechanisms necessitates patience and a meticulous approach.
- Olivetti: Olivetti typewriters are known for their complex and sometimes intricate alignment mechanisms. Their precision engineering often presents unique challenges to restorers.
- Underwood: Underwoods may require specific adjustments to the escapement, which can be a common source of misalignment. Sometimes, understanding and fixing common Underwood typewriter issues is necessary to achieve optimal alignment.
- Imperial: Imperial typewriters often have hidden adjustments that require a keen eye and a gentle touch.
- Smith Corona: Smith Coronas can be surprisingly sensitive to alignment adjustments, requiring a delicate balance of precision and care.
Researching your specific brand and model is essential for successful alignment. The beauty of vintage typewriters lies in their individuality, and recognizing this is the first step in bringing them back to life.
The Narrative Resonance of Typewriter Restoration
Beyond the mechanical aspects, restoring typewriters is about preserving history and connecting with the narratives they’re helped create. Each machine has a story to tell, and the process of restoring it allows us to become a small part of that narrative. The challenges faced in restoration – the stubborn screws, the intricate mechanisms – can be seen as metaphors for the perseverance required to bring old stories back to light. Many have used a typewriter to capture some of the best writing ever created. Some, like Ernest Hemingway, believed that writing on a typewriter helped to shape their creativity.
Advanced Alignment Techniques
For experienced restorers, some advanced techniques can refine alignment even further. These may involve:
- Micro-adjustments of typebar position using specialized tools.
- Careful lubrication of all moving parts to ensure smooth operation and accurate alignment.
- Using a laser alignment tool for precise measurements.
Conclusion
Demystifying typewriter alignment requires patience, observation, and a methodical approach. By understanding the principles, using the right tools, and researching your typewriter's specific brand, you can bring even the most misaligned machines back to life, producing clear and beautiful printed documents. Remember to always prioritize careful observation and gentle manipulation, and don't be afraid to consult resources and seek guidance when needed. The satisfaction of hearing the familiar clatter of a perfectly aligned typewriter, knowing you’ve played a part in its revival, is a reward in itself.