Restoring a Royal Quiet De Luxe: A Step-by-Step Approach
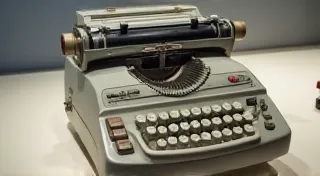
The Royal Quiet De Luxe is a legend in the vintage typewriter world. Known for its smooth action, quiet operation, and sturdy construction, it’s a rewarding machine to restore. This guide will take you through a complete restoration process, designed for those with some mechanical aptitude. While some experience is helpful, a careful approach and a little patience will yield a beautifully restored Royal Quiet De Luxe.
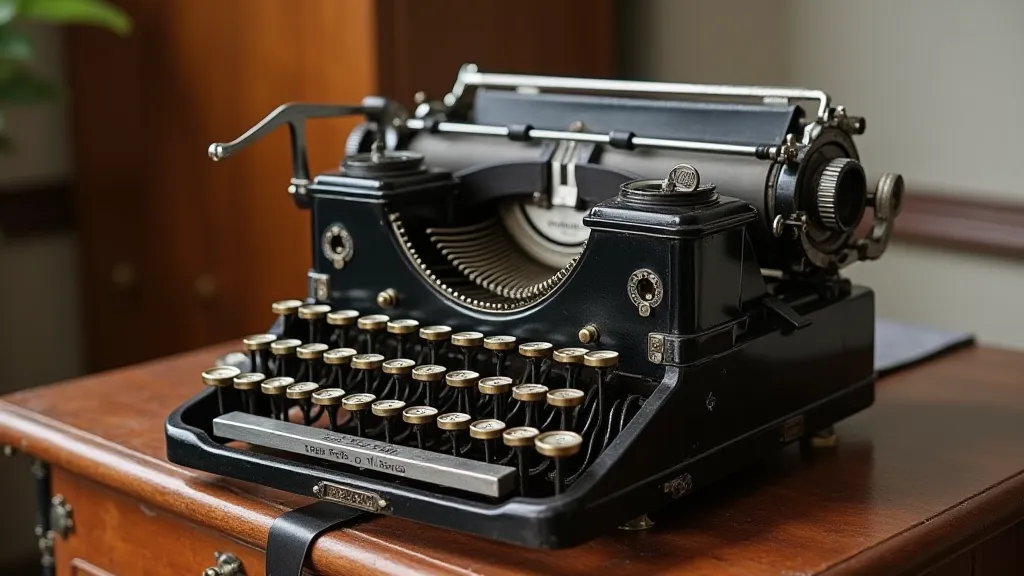
Understanding the Royal Quiet De Luxe
Before we begin, let's appreciate the machine. The Royal Quiet De Luxe was manufactured from 1949 to 1960, offering various features and configurations. Common issues encountered during restoration include dried-out lubrication, sticky keys, and corrosion from age or improper storage. This guide assumes a generally intact machine, but condition varies widely.
Tools and Materials Needed
- Set of screwdrivers (various sizes, including precision screwdrivers)
- Pliers (needle-nose and regular)
- Cleaning solvent (mineral spirits or naphtha are good choices)
- Lubricant (Sewing machine oil or specialized typewriter oil)
- Cotton swabs
- Soft cloths
- Small brushes
- Rust remover (if needed)
- Rubber gloves
- Eye protection
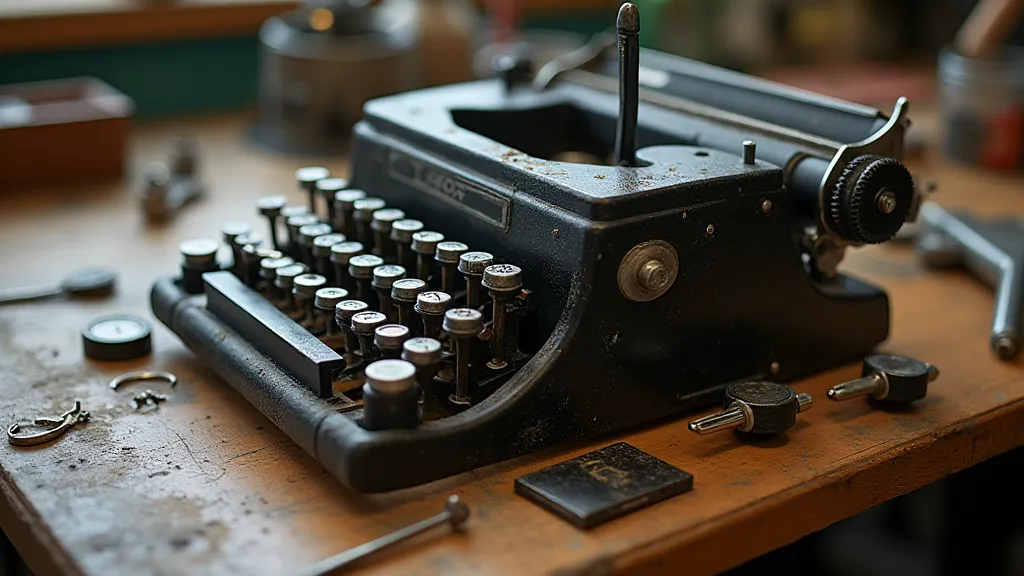
Step 1: Disassembly and Initial Cleaning
The first step is careful disassembly. Document each step with photos – this is invaluable for reassembly! Begin by removing the casing and carefully disconnecting all levers and linkages. Place all parts in labelled containers to avoid confusion. Once disassembled, begin cleaning each component with solvent and soft cloths. Pay particular attention to areas with visible grime or corrosion. For heavily soiled parts, soak them in solvent for a period of time, checking periodically.
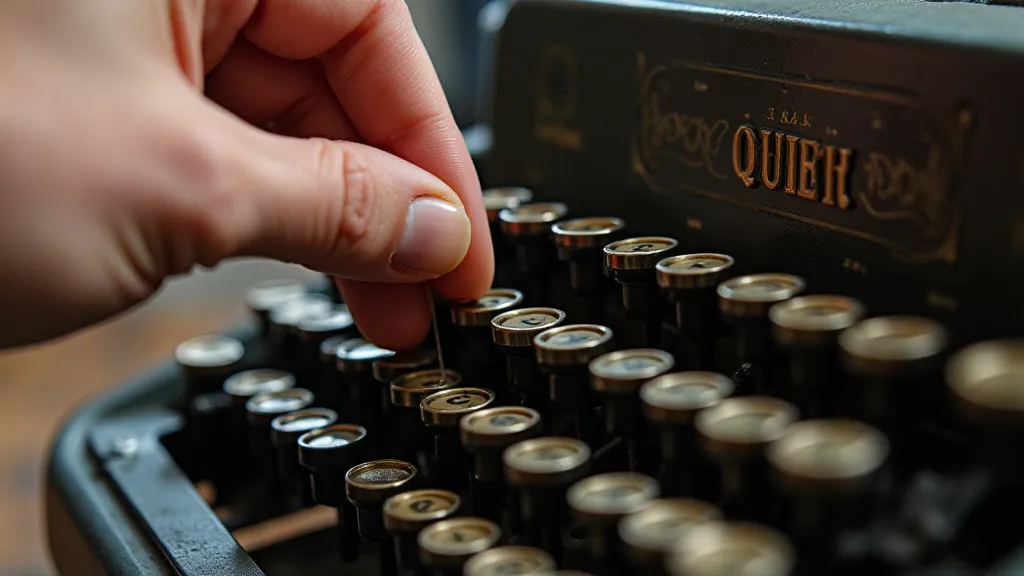
Step 2: Addressing Corrosion and Rust
If your Royal Quiet De Luxe has significant rust, treat it early in the process. Apply a rust remover according to the product instructions. Scrub gently with a small brush. Multiple applications may be necessary. Thoroughly clean the treated area to remove any residue from the rust remover. Prevent future corrosion by ensuring the typewriter is stored in a dry environment.
Step 3: Lubrication – The Heart of Smooth Operation
Lubrication is critical for restoring a Royal Quiet De Luxe. Apply a *thin* layer of lubricant to all moving parts, including levers, escapement mechanism, and type bars. Avoid over-lubricating, as this can attract dust and create further problems. A single drop is often sufficient. Work the typewriter through a few cycles after lubricating to ensure even distribution. Regular lubrication will keep your Royal Quiet De Luxe running smoothly for years to come.
Step 4: Adjustments and Fine-Tuning
After cleaning and lubrication, it's time for adjustments. This is where the documentation from your disassembly process becomes invaluable. Check the escapement alignment, carriage return mechanism, and type bar spacing. Many adjustments can be made by carefully tightening or loosening screws. The Royal Quiet De Luxe typically requires minimal adjustment, but a little tweaking can drastically improve its performance. Consult typewriter repair manuals (online resources are readily available) for specific adjustment procedures.
Step 5: Reassembly and Final Inspection
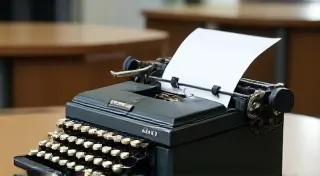
With everything cleaned, lubricated, and adjusted, it’s time to reassemble the Royal Quiet De Luxe. Follow your disassembly photos and notes carefully. Ensure all parts are properly aligned and secured. Once reassembled, perform a thorough inspection. Type a sample document to check for smooth operation, even character impression, and proper carriage return.
Conclusion
Restoring a Royal Quiet De Luxe is a rewarding experience. It requires patience, attention to detail, and a little mechanical know-how. With this step-by-step guide, you can bring this classic typewriter back to its former glory, enjoying its smooth action and timeless design for years to come.