The Craft of Typewriter Case Restoration
The case. Often overlooked in the rush to get a vintage typewriter clicking and clacking again, the case is a crucial element of its overall aesthetic and preservation. A damaged or discolored case can detract significantly from a beautifully restored machine, while a well-cared-for case elevates the entire package. This guide dives into the techniques involved in typewriter case restoration, focusing on methods suitable for a range of damage levels and skill sets. Our focus will be on cases belonging to various vintage typewriters, as this practice is essential in overall typewriter restoration. Understanding the history and evolution of these machines can also add context to the restoration process; for instance, examining the evolution of the Underwood typewriter provides insight into early construction methods.
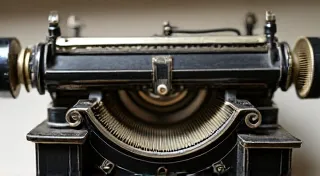
Understanding Your Case: Materials and Condition
Before you even touch your typewriter case with a cleaning cloth, assessment is key. Typewriter cases are most commonly made of:
- Wood Veneer over Cardboard/Particle Board: This is extremely common, particularly in mid-century machines. The veneer is the visible layer, and the core provides structure. These are vulnerable to water damage, chipping, and veneer separation.
- Solid Wood: Less frequent, but found on higher-end models. These offer greater durability but can be more difficult to repair due to the expense of matching wood.
- Bakelite/Early Plastics: These are less common but present on some earlier models. They require specialized cleaning and repair techniques (discussed later).
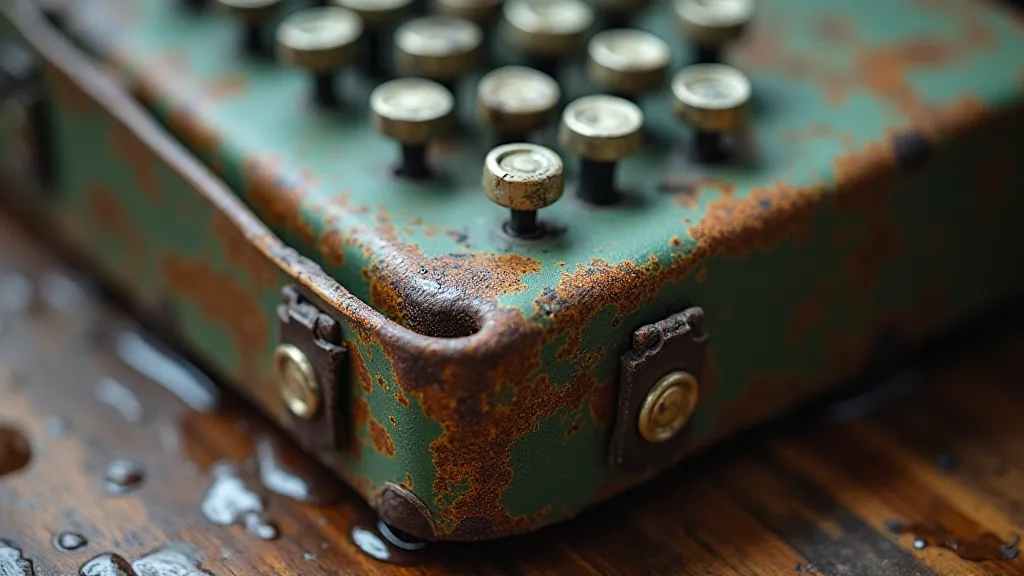
Note the type and severity of the damage. Common issues include scratches, dents, water stains, chipping, veneer separation, and discoloration. A careful examination will inform your repair strategy. Many restorers find that the repair process can be particularly challenging when dealing with machines like a Smith Corona Galaxie, which frequently exhibits specific case-related issues due to its design and common wear patterns.
Cleaning and Surface Preparation
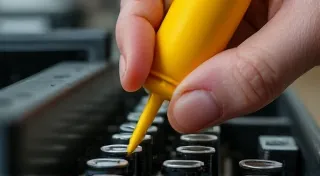
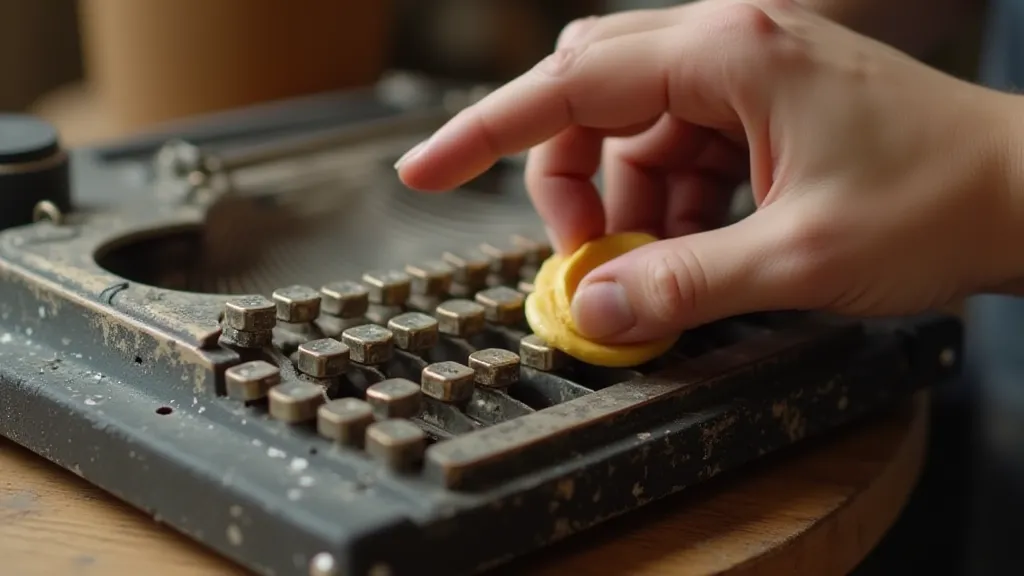
Regardless of the repair route you choose, cleaning is always the first step. Gentle cleaning is vital for typewriter repair and restoration. Start with a soft cloth and mild soap and water. Avoid harsh chemicals, especially solvents, as they can damage the finish.
For stubborn grime, try a dedicated wood cleaner designed for antiques. Always test the cleaner in an inconspicuous area first.
For Bakelite cases, use specialized Bakelite cleaners. A mixture of warm water and mild dish soap usually works well. Never use solvents on Bakelite, as they can cause cracking and discoloration.
Repair Techniques: Addressing Common Issues
The specific repair techniques will vary depending on the materials used in the case's construction and the extent of the damage. For example, restoring a Hammond typewriter often necessitates unique approaches given its intricate mechanics and case design – a process that can inform your understanding of broader typewriter restoration principles.
- Minor Scratches and Dents: For light scratches, a furniture touch-up marker in a matching color may suffice. For shallow dents, try steaming them out using a damp cloth and a clothes iron. Be extremely careful not to burn the wood.
- Veneer Separation: This is a common problem. Carefully clean away any debris from the separation. Apply wood glue with a fine applicator (a toothpick works well) and clamp the veneer back into place. Use masking tape to protect the surrounding areas. Allow the glue to dry completely. Ensuring a strong and lasting bond is essential, especially on cases with intricate detailing.
- Chipping: Fill chips with wood filler that matches the veneer's color. Sand smooth once dry. Achieving a seamless blend with the surrounding veneer requires careful color matching and sanding techniques.
- Cracks: Cracks can be filled with wood glue and clamped until dry. For larger cracks, wood filler may be required. Larger cracks can weaken the structural integrity of the case, so careful attention to detail is crucial.
Refinishing Options
After repairs, you have a few refinishing options, each offering a distinct aesthetic and level of complexity. The choice of finish can dramatically alter the overall appearance and longevity of the restored case. The process itself can be daunting, with techniques requiring significant practice to master.
- Waxing: For minor imperfections and to enhance the existing finish, a high-quality furniture wax is an excellent choice. Waxing provides a subtle sheen and offers a degree of protection against minor scratches and dust.
- French Polishing: A traditional technique that provides a durable, glossy finish. Requires patience and practice. French polishing builds up layers of thin coats of finish, creating a deep, lustrous shine.
- Relicaging (Re-veneering): A complex process involving removing the old veneer and applying a new layer. Generally best left to experienced restorers. This technique is essential when the existing veneer is severely damaged beyond repair.
- Stripping and Refinishing: Removes the existing finish entirely and applies a new finish. Requires careful selection of a compatible finish and appropriate safety precautions. A proper stripping process ensures the new finish adheres correctly and provides lasting protection.
Preservation and Future Care
Once your case restoration is complete, protecting your work is paramount. The restored case represents a significant investment of time and effort, and proper care will ensure its beauty endures for generations. Consistent, gentle maintenance will prevent deterioration and preserve the case's aesthetic appeal.
Keep the typewriter away from direct sunlight and extreme temperatures. Prolonged exposure to these conditions can cause the finish to crack, fade, and warp. Sunlight, in particular, can accelerate the breakdown of both wood and plastic components.
Regularly dust the case with a soft cloth. Dust accumulation can scratch the finish and attract moisture. Use a clean, dry microfiber cloth to gently wipe down the case.
Avoid placing heavy objects on top of the typewriter. Excessive weight can damage the case’s structural integrity and distort its shape. Consider using a protective cover when the typewriter is not in use.
Beyond the immediate cleaning and care, documenting your restoration process is a valuable practice. Detailed notes and photographs can serve as a resource for future maintenance and repairs, or simply as a record of your accomplishment. This also allows you to appreciate the intricacies of these machines, and the challenges faced by restorers across generations. Examining instances of chromatic decay on Royal Standard machines offers a stark reminder of the relentless passage of time and the importance of proactive preservation efforts.
Restoring a vintage typewriter case is more than just a mechanical process; it's a connection to history, a celebration of craftsmanship, and an act of preservation. With careful attention to detail, a dedication to quality, and a passion for these timeless machines, you can breathe new life into a piece of the past and ensure its continued enjoyment for years to come.